How to Install a Dash Cam That Requires Hard Wiring: Your Ultimate Guide in Lebanon
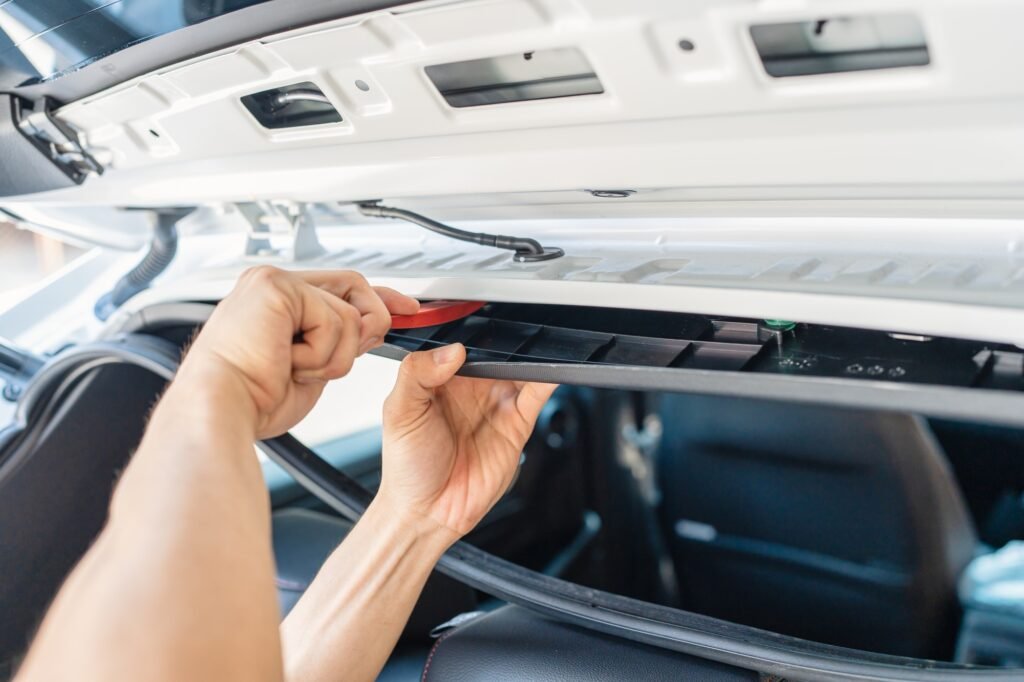
Hand of mechanic using wedge removing and installing a dash cam inside a car at workshop
You’re cruising along the Corniche, enjoying the Beirut sunset, when suddenly—bam! A reckless driver swerves right in front of you. It’s moments like these where a dash cam isn’t just tech—it’s your digital witness. But installing a hardwired dash cam? Now, that’s where things get interesting.
Let’s dive into how you can get your dash cam neatly installed, safely hardwired, and ready to protect you on the streets of Lebanon.
Why Hardwire Your Dash Cam?
First things first—why even bother with hardwiring? Well, think of it like swapping a messy headphone cable for AirPods. Cleaner, smoother, and more efficient. Hardwired dash cams offer:
Continuous Power Supply: Your dash cam won’t die halfway through capturing crucial footage.
Parking Surveillance: It keeps an eye out even when your car is parked.
Neat Setup: Say goodbye to dangling wires cluttering your dashboard.
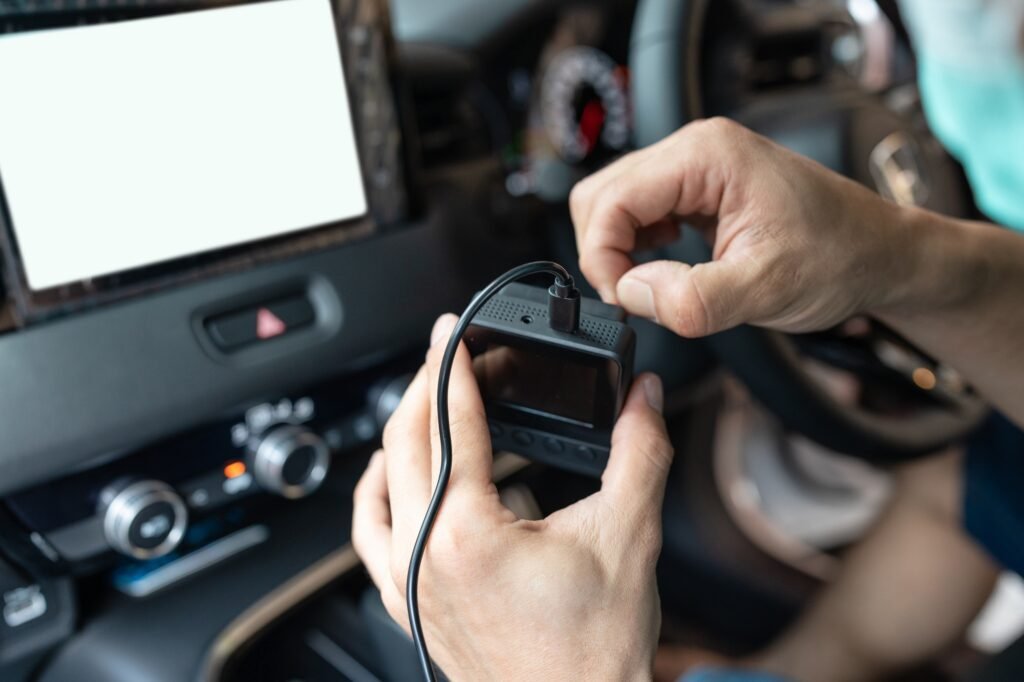
Hand of technician preparing and installing front camera car recorder
How to Install a Dash Cam That Requires Hard Wiring
Now, let’s tackle the big question—can you DIY it, or should you call in the cavalry?
Option 1: DIY Installation
If you’re handy and adventurous, here’s how to do it yourself:
3-Channel Dash Cam Hardwire Installation Guide
Tools & Materials Needed
Plastic trim removal tool
Multimeter
Crimp connectors or fuse taps
Electrical tape / heat shrink tubing
Cable zip ties
Optional: Circuit tester, soldering iron, OBD power adapter (alternative to fuse tap)
Step 1: Plan Your Installation
Channels:
Front Cam: Mounted on the windshield (main unit).
Cabin Cam (internal): Typically integrated in the main unit.
Rear Cam: Mounted on rear windshield or above license plate (inside vehicle).
Cable Routing Plan:
Route rear cam cable along headliner, down A-pillar, under carpet trims.
Power cable goes to fuse box (typically driver-side or passenger footwell).
Optional: SOS button and GPS module placement.
⸻
Step 2: Mount the Dash Cam Units
A. Front Cam (Main Unit)
Mount behind the rearview mirror, high on the windshield.
Clean glass with alcohol before placing the adhesive.
Ensure the camera has a clear forward view, and internal IR camera (if any) points toward passengers.
B. Rear Cam
Clean rear glass, mount top-center of rear windshield inside the car.
Use the provided adhesive pad, then route cable through headliner toward the front cam.
⸻
Step 3: Connect GPS & SOS Button
GPS Module:
Stick to dashboard corner or top of the A-pillar for clear satellite access.
Plug into the GPS port on the main dash cam.
SOS Button:
Mount it somewhere easily accessible (driver-side dash).
Plug into the dedicated port on the main cam.
⸻
Step 4: Wiring Power (Hardwiring Kit)
Wires Overview:
Yellow (Constant 12V – Battery+)
Red (Switched 12V – ACC)
Black (Ground)
A. Identify Fuses Using a Multimeter:
Use the multimeter or circuit tester to find:
A constant fuse (active even with ignition off, e.g., dome light, hazard).
An ACC fuse (only active when ignition is on, e.g., radio or cigarette lighter).
B. Use Fuse Taps:
Insert each wire into an add-a-fuse tap and connect it to the appropriate fuse slot.
Crimp connections properly. Avoid wrapping bare wires around fuse legs.
C. Ground Wire:
Use a bolt or screw connected to the car chassis (bare metal, no paint).
Use a ring terminal for a solid ground connection.
⸻
Step 5: Parking Mode Configuration
Your dash cam supports parking mode, motion detection, and G-sensor activation:
Configure via the mobile app (WiFi required).
Enable loop recording and emergency lock on G-sensor triggers.
⸻
Step 6: Cable Management
Tuck wires neatly under trim and headliner using plastic pry tools.
Use zip ties to secure excess wires.
Avoid routing power wires near airbag zones (A-pillars often have airbags).
⸻
Step 7: Test the System
1. Start the car.
2. Confirm:
Front, cabin, and rear cams are recording.
GPS signal is active (usually takes 30 sec).
Parking mode activates correctly (turn off engine, simulate motion).
SOS button works and triggers an event lock.
3. Check recording via the app.
⸻
Pro Tips
Use heat shrink tubing over all crimp connectors for extra safety.
Label wires during setup.
Save the client’s WiFi settings to help them manage footage remotely.
Explain parking mode power draw and how long the cam records when parked.
⸻
Is DIY Really for You?
If IKEA furniture assembling terrifies you, maybe think twice.
Comfortable working with car electronics? Then you’re good to go!
Option 2: Seek Professional Installation (The Smooth Ride)
Not feeling the DIY vibe? That’s totally understandable. Professional installation ensures everything works flawlessly without you sweating under the Beirut sun.
Why Go Pro?
Warranty Protection: Professionals often guarantee their work, ensuring peace of mind.
Expertise: A pro knows your car model inside out.
Efficiency: It’s faster, cleaner, and less stressful.
Where Can You Find a Dash Cam Installation Professional in Lebanon?
Good question! For a professional and reliable dash cam installation, we highly recommend our trusted partner:
Est. Mhawej in Dekweneh has an excellent reputation for professional dash cam installations, quality service, and skilled automotive technicians. To schedule your installation or to learn more, visit their website directly at estmhawej.com or contact us for assistance.
FAQs about Dash Cam Installation
Can I Do It By Myself?
Absolutely! But only if you’re confident working with car electronics. Otherwise, it might be more relaxing to let the pros handle it.
Is It Better to Seek a Professional?
In most cases—yes. Professionals ensure a flawless, hassle-free setup. Plus, your car will thank you for not frying its fuse box!
Where Can I Find a Professional?
Check out popular automotive shops or specialized electronics installers in major cities like Beirut, Jounieh, Tripoli, or Sidon. Social media groups and local forums also offer handy recommendations.
A Personal Touch: My Dash Cam Adventure in Beirut
Allow me to share a quick anecdote. Last summer, I decided to DIY-install my first hardwired dash cam. Two hours in, wires were everywhere, and I questioned every decision I’d ever made. Eventually, after countless YouTube tutorials, it worked—kind of. A week later, I swallowed my pride and visited a professional. It cost me a bit extra, but oh, the relief!
The moral of the story? Know your limits.
Final Thoughts: Safety and Style on Lebanese Roads
Installing a hardwired dash cam is a stylish and practical decision for your car. Whether you DIY or go professional, the end result should be clean, efficient, and ready to protect you against Lebanon’s unpredictable roads.
Ready to dive in? Choose your dash cam, get your kit, and secure your peace of mind. After all, Beirut traffic is unpredictable, but your dash cam doesn’t have to be.